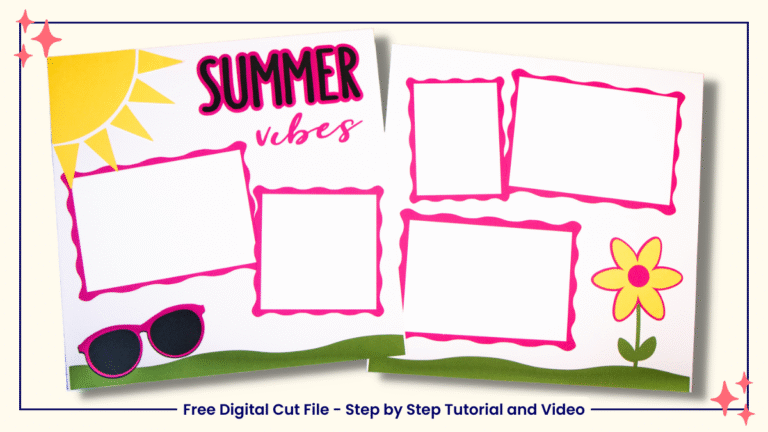
Make Personalized Journal Cards in Cricut Design Space
Have you ever been finishing a scrapbook layout and realized you didn’t have the right journaling card — the right size, the right color, or the right style? Good news — you can create your own!
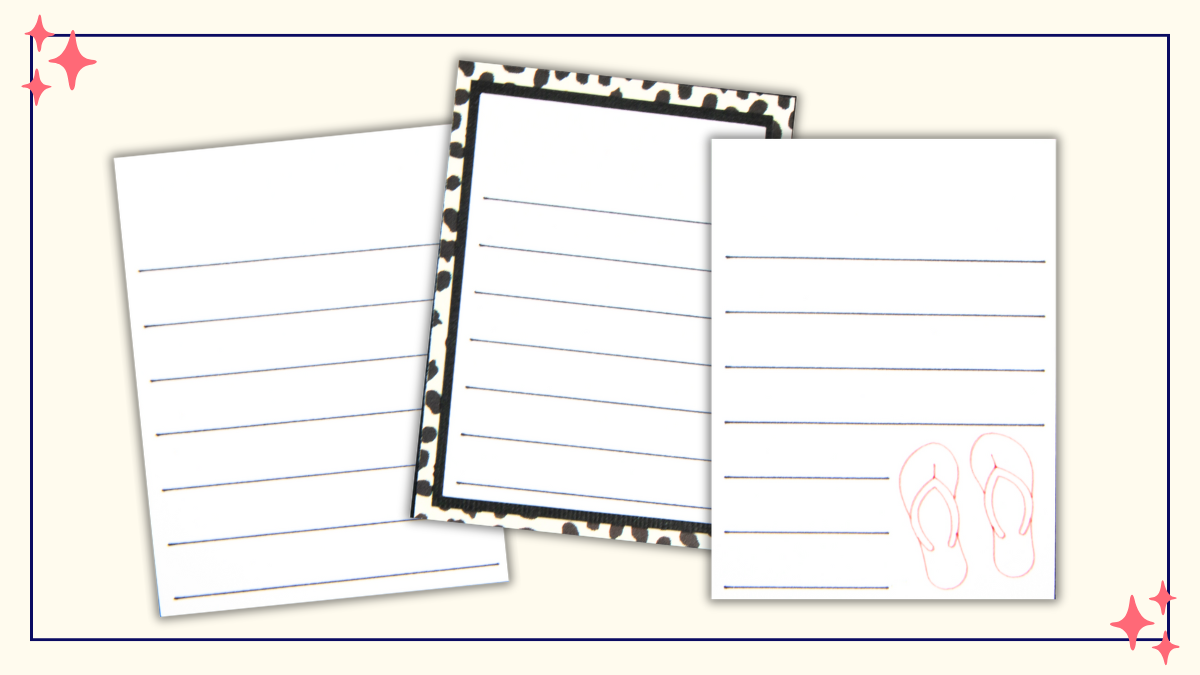
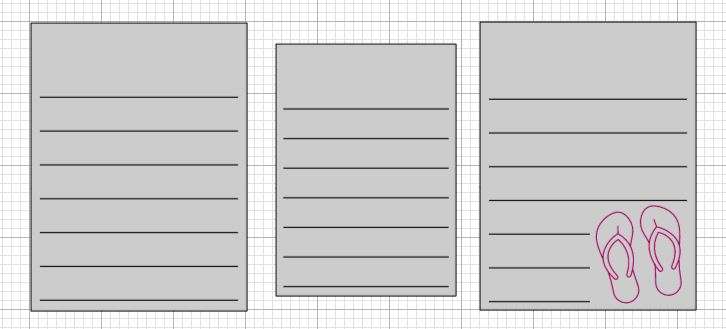
In this tutorial, I’ll show you step-by-step how to design a 3″ x 4″ journaling card in Cricut Design Space. Once you learn the process, you can easily adjust the size to create custom cards that perfectly match any project. We’ll use the Pen tool to draw the lines and add a simple icon — no Print then Cut feature required. The middle journaling card shown above was resized and matted on patterned paper, a quick variation that helps you coordinate your journaling cards beautifully with your scrapbook layout.
We’ll start with a simple lined journaling card and then explore a few fun variations you can try.
🎥 Prefer to watch instead of read?
Check out the full video tutorial below! I’ll walk you through each step of creating your custom journaling card in Cricut Design Space — from drawing the lines with your pen tool to adding a simple icon.
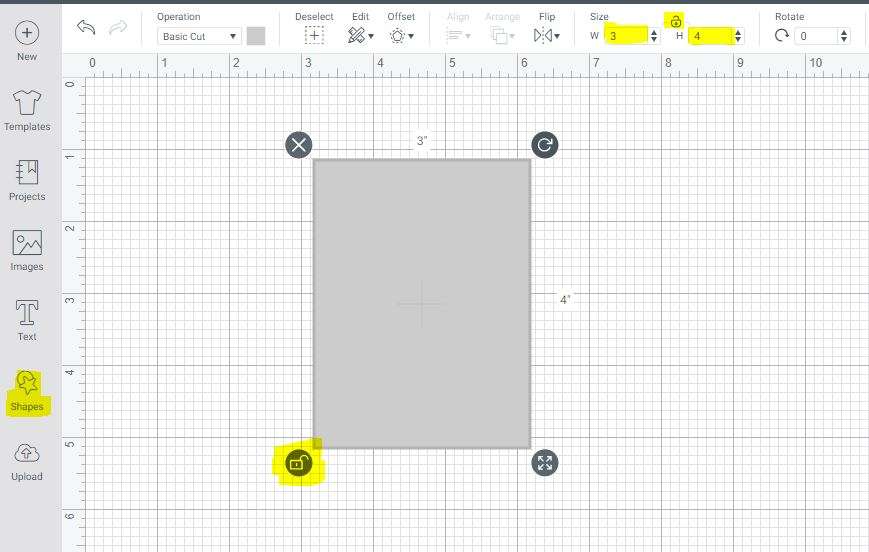
Step 1: Create the Base Shape
- In Design Space, choose Shape → Square from the left toolbar.
- Change the color of your square to a light shade (this makes it easier to see your design).
- Unlock the proportions by clicking the lock icon in the lower right corner of the square or in the Size box at the top.
- Resize your shape to 3” wide x 4” high.
That’s your basic journal card shape!
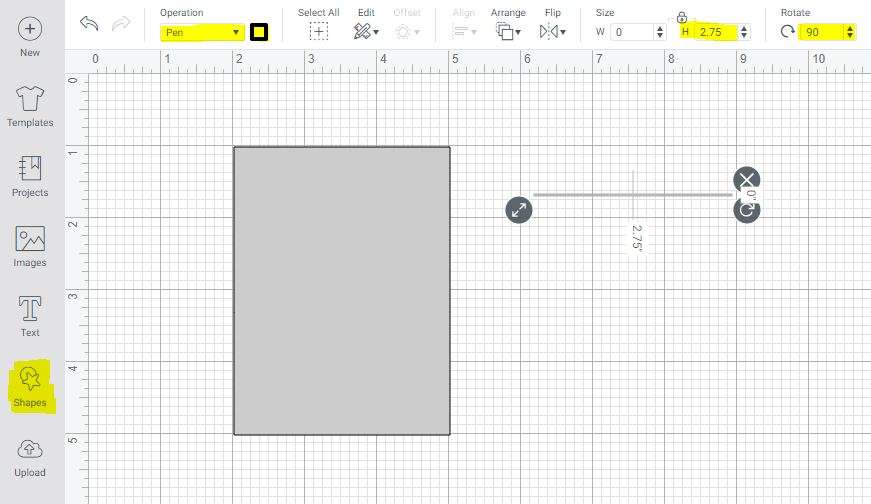
Step 2: Add Writing Lines
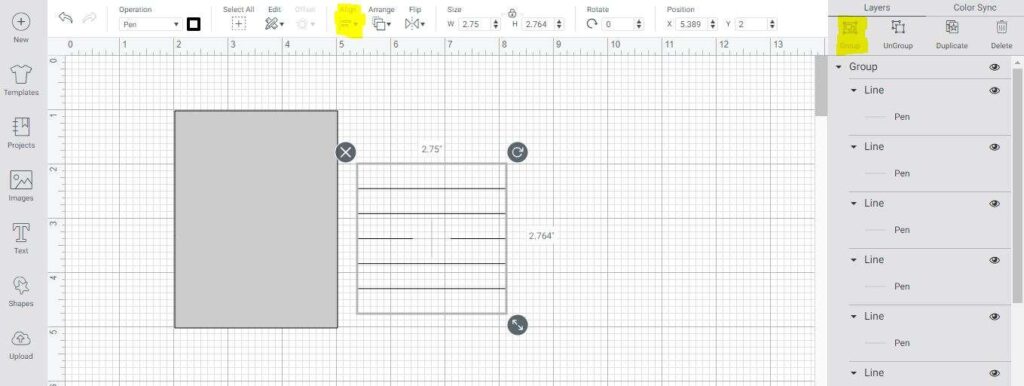
- From the Shapes menu, choose Score Line.
- Rotate the line horizontally by entering 90° in the Rotate box at the top.
- Resize the line to 2.75″ wide (H = 2.75).
- Change the line operation from Score to Pen using the drop-down in the top toolbar.
- Pick your preferred pen color (this determines the line color your Cricut will draw).
Step 3: Duplicate and Space the Lines
Decide how many lines you’d like and how much space you want between them.
For this example:
- Leave 1″ of space at the top before the first line.
- Leave about ½” between each line.
You’ll need 7 lines total.
- Select your line and click Duplicate six more times.
- Move the top line about 1″ from the top of the rectangle.
- Move the bottom line near the bottom, leaving about one or two grid lines of space.
- Temporarily move your rectangle aside so you can work with just the lines.
- Select all your lines (click and drag or hold Shift and select each one).
- From the Align menu, choose Align Left, then Distribute Vertically.
- With all lines still selected, click Group in the Layers panel so they move as one.
Step 4: Align Lines on the Card
- Drag the grouped lines onto your rectangle.
- If they disappear, the rectangle is on top — simply select the rectangle and choose Arrange → Send to Back.
- Adjust so the lines are evenly spaced from top to bottom.
- Select both the rectangle and the grouped lines.
- From Align, choose Center Horizontally.
Now your lines are perfectly positioned on your card.
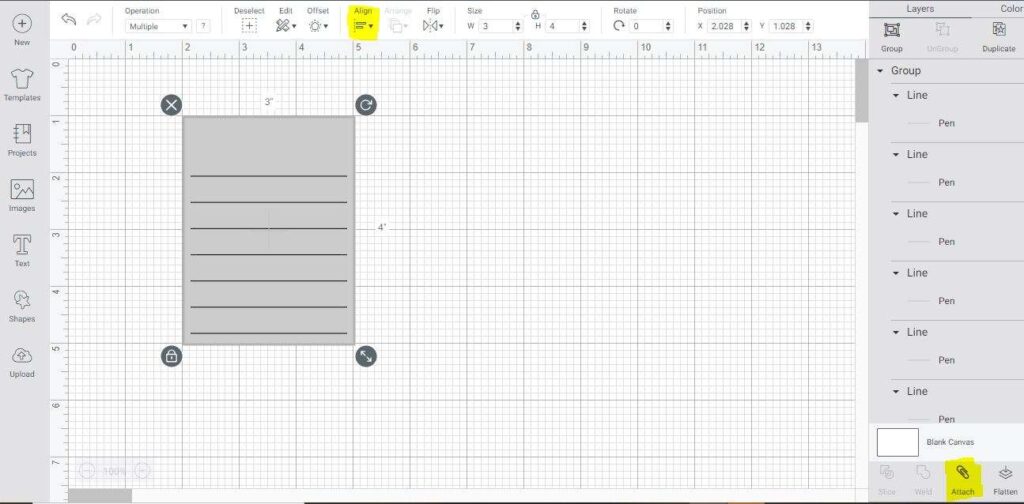
Step 5: Attach and Cut
Select the lines and the rectangle together, then click Attach (paperclip icon at the bottom of the Layers panel, see image in Step 4).
This ensures your Cricut knows to draw the lines on the card before cutting it out.
Load your pen into Clamp A and your blade into Clamp B, then click Make It!
Congratulations — you’ve just made your own custom journal card!
Variations to Try
1. Change the Size
Want to add a mat behind your journaling card? Simply select the card and resize it slightly smaller or larger to fit your layout. As long as the lock icon in the top menu is locked, your card will stay perfectly proportional. Since the lines are already attached, everything will resize together — making it an easy way to layer your card with coordinating patterned paper from your scrapbook page.
2. Add Line Art or Icons
You can personalize your journaling cards with line art — think hearts, cameras, flowers, or seasonal icons.
- Click Images in the left toolbar.
- Search for your chosen design (for example, flip flops for a beach layout).
- Insert the image and resize it.
- Change the Operation to Pen so Cricut draws the image instead of cutting it.
- Choose your pen color — or multiple colors if you want Cricut to pause between pen changes.
Tip: If your lines overlap the artwork, detach and adjust them:
- Select your card and click Detach in the Layers panel.
- Resize or reposition any lines that intersect the design.
- Once everything looks good, reselect all the elements and click Attach again.
Now your journal card features both lines and decorative art — ready to cut, draw, and use!
Wrap-Up
That’s it! With just a few steps, you can make beautifully coordinated journaling cards for any scrapbook layout or paper-craft project. Whether you stick with the classic lined version or add your own creative flair, these custom cards are a fun way to personalize your pages.
Craft your story. Create your world.
✨ Didn’t catch every detail? Watch the full video tutorial again here! 👇